LEARN HOW TO
HOST IMAGES FOR AN HTML
VIDEO TUTORIAL
Check step by step below for better comprehensive
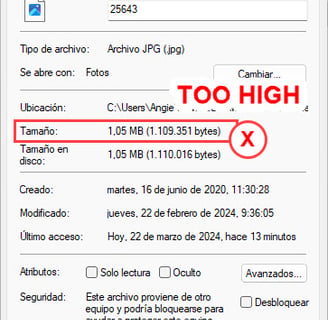
1. Check images weight
In order to avoid high costs and have a lighter load on each newsletter, we have to make sure all images are under 100KB. If any exceeds this value it will be necessary to reduce the weight with some help from any compressor website.
Here’s a link to one online compressor: https://caesium.app/
You just have to upload the image to which you want to reduce its weight and it will do it for you.
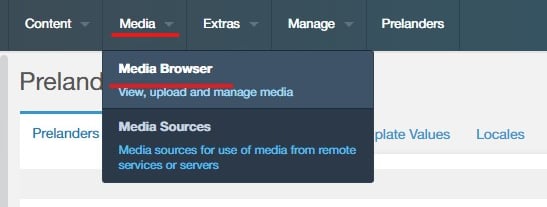
2. Save images in Modx
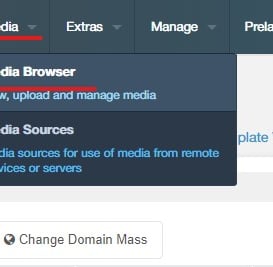
Media Browser folder: Once you have all the images optimized for the newsletter it’ll be time to save them in the server. In order to do so, you can log in to MODX, in the header menu go to MEDIA section and click in MEDIA BROWSER, which will open all our images library organize by categories.
URL Images: Once you have all of the images in MODX it’s time to change the images routes in the HTML file. This way the HTML file will take images from MODX.
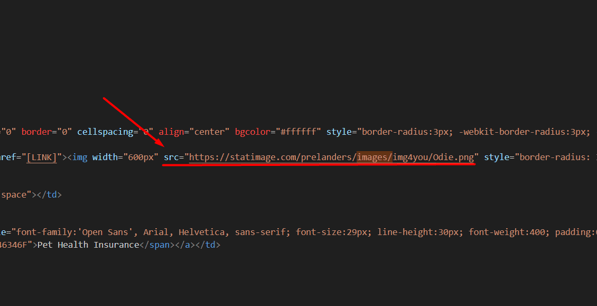
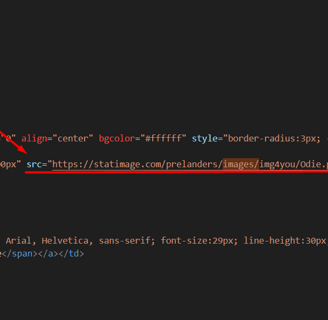
In order to do that we will use the following url: https://statimage.com/prelanders/images/img4you/imagename.jpg
Add the name of the image where it says ‘imagename’ plus the tye of the image (JPG,PNG, WEBP). So, for example, if the image name is “button.jpg”, the URL will be: https://statimage.com/prelanders/images/img4you/button.png This code must be changed in every <img> tag inside of the HTML.
3. Get URL and replace it in the HTML

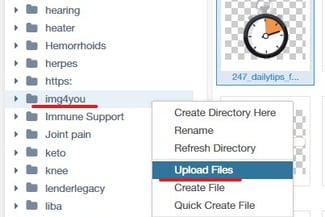
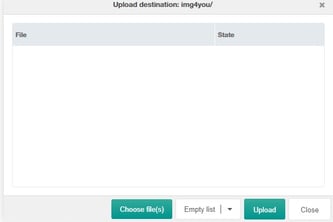
Uploading Images: Look for the folder called ‘img4you’ there you will find all the images that are used for newsletters. In order to upload the image, you can right click over the file ‘img4you’ and a tiny window will open. There you’ll find the option to upload files, which will allow you to grab and drop the images from your device.
When uploading take into account that the image to be uploaded must be placed directly into the img4you file, not in any other sub-file. So there’s no need to create or update any file inside of ‘img4you’.

1. Try to have names for images that make sense according to what the image represents. So, for example, if you have an image named ‘b-1-bg-2.jpg’ and it is an image of a button with background red, you can name it ‘button-redbg.jpg’. It will make easier when looking for images.
2. If you need to upload several images for different advertiser you might find images that are the same, for example, a logo, in this case it won’t be necessary to upload them twice.
Good Practices:
Now, where do we place this new url?: The url for each image must be changed in every <img> tag in the HTML file.
Take into account the next when changing URLs:
Make sure the URL is inside of the “ “
Make sure the URL is in the src attribute like src=” URL “